Friday, March 18, 2016

Baked Chicken Egg Rolls and Ham Fried Rice

This meal is a favorite of my hubby's - his favorite part is the ham fried rice.
Every two weeks we buy a rotisserie chicken and then I usually get at least three meals out of it. This is one of our favorite meals to make with the leftover chicken.
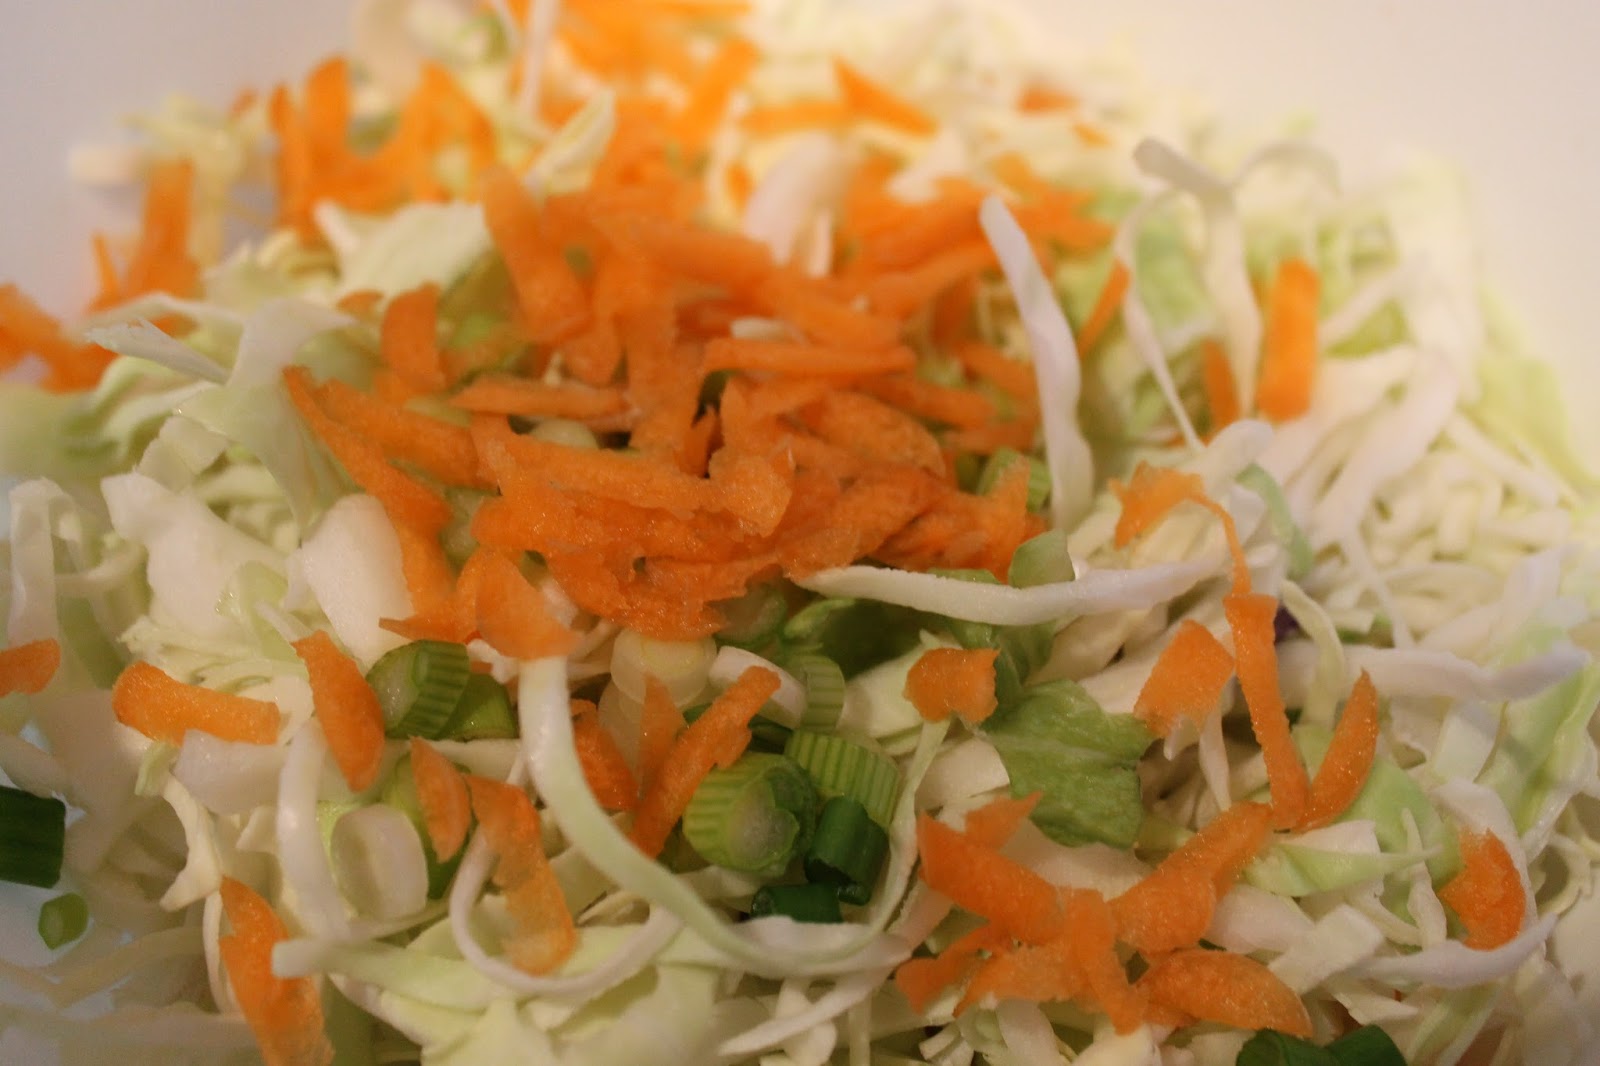
Start out with about eight ounces of coleslaw mix. Then add 1-2 sliced green onions and shredded baby carrots to your liking. Cover with saran wrap and microwave for one minute. Stir and microwave another thirty seconds.
Then add about a cup of shredded chicken. Next I add some flavor. I don't like to use sweet & sour sauce on my egg rolls so I like to add lots of flavor to them. I add about a teaspoon of soy sauce and hot chili sauce and then a few shakes of Hot Shot! pepper and a shake of salt. If you don't like a lot of spice you can just use regular pepper and leave out the hot chili sauce. Now you are ready to make your egg rolls.
I usually make six egg rolls with this amount but you can make them each as small or large as you want. I'm still not the best egg roller after making these a dozen times. Maybe I can watch a YouTube video on that.
Put your finished egg rolls on a greased pan and put them in the oven for ten minutes at 400 degrees then turn them over and put them back in for another six to seven minutes to get the golden color below.
As the egg rolls are baking, I chop up some onion and ham (a couple slices each) and cook in some olive oil until the onion is tender then I add about two chopped green onions right at the end. Then set that to the side and scramble two eggs with a little salt and pepper added to them. I have been cheating a little with the rice and have been using frozen rice so I just do that at the end since it only takes four minutes to cook. If you would like to cook rice from scratch you will want to start it when you put the egg rolls in the oven. Stir the onions, ham and egg in with the rice and add some soy sauce, salt and pepper.
Enjoy!

Egg Roll mixture:
8 oz coleslaw mix
1-2 shredded baby carrots
1-2 sliced green onions
1 cup of shredded chicken
1 tsp hot chili sauce
1 tsp soy sauce
dash of salt & pepper

Ham Fried Rice:
2 slices chopped onion
2 slices chopped ham
2 sliced green onions
2 scrambled eggs
10 oz bag frozen rice
1 tsp soy sauce
salt & pepper

Tuesday, March 15, 2016

3 Ingredient Oatmeal Scotchies

These are my somewhat healthy go-to cookies of the moment.
They only require 3 ingredients (if a cookie mix counts as one ingredient) and they are so quick that I make them way to often.
Just add a single serve cup of applesauce to a package of oatmeal cookie mix and combine. Then mix in as many butterscotch chips as you would like and dig in - since there are no eggs in this version, the cookie dough is safe to eat.
Or bake them according to the directions on the package.
Enjoy!
P.S. Since there is no butter in the recipe - they do stick to the pan a bit so you might want to grease your pan first or use either parchment paper or a baking mat.

Tuesday, September 15, 2015

DIY Jewelry Displays using photo frames

I've been into upcycling lately.
I can look at something and see the potential it has to be something else or something useful.
Sometimes things just need a coat of paint and sometimes they need a whole new purpose.
This used to be a photo frame that someone donated to the thrift store.
First, I covered the hinges with tape and spray painted the whole thing. Then I used wire cutters to cut some wire mesh that I got at Lowe's to fit each opening and attached it with the same attachments that were holding the acrylic pieces in each slot. That did take some patience to get it just right.
I think it turned out great.

I also made a smaller one out of another plain picture frame.
I didn't take a before picture of this one so this is the unfinished back side. I took out the glass and sanded the stain off and then painted it with craft paint. Then I finished it with a dark brown wax to give it an antique look.
If you would like to try this yourself, find some hinged frames so they can stand on their own and finish them how you like. You can also do this to a single photo frame if you want to use an easel to display it or hang it on a wall.

Another way to antique your paint finish is to apply your paint color normally and after it has dried, take a tattered paint brush and dip it in some contrasting paint and then tap out most of the paint so the brush is kind of dry before you randomly apply it to your frame. It should come out looking something like the one below:
I haven't posted in a while but I'm always doing something crafty so I'll try to be better about dragging my camera and laptop around with me and share with all of you what I've been working on.
Thanks for stopping by.

Thursday, July 31, 2014

DIY Party Poppers

I made these party poppers for a Pioneer Day event. They would work great for any holiday or party by using whatever colors of tissue paper, scrapbook paper and embellishments you want.
Here are the steps to making your own party poppers:
First you need some empty paper towel rolls or toilet paper rolls. You can get two or three poppers out of each paper towel roll depending on what size you want them. Then choose what colors of tissue paper you want to wrap them in. I cut each piece of tissue paper into four equal parts. I then used scotch tape to adhere the tissue paper to the rolls.
Next choose your scrapbook paper that you want to put on the outside of them and cut it to the width of your paper roll. Tape the inside edge to the roll and wrap around until you have about a 1-2 inch overlap - you might need to trim some excess off. Then glue it down and make sure it bonds - since it's a round surface it's a little harder to keep tight. Then cut some pieces of ribbon long enough to double knot and curl just a bit - about six inches - and tie one end closed.
Now you are ready to fill them. I got some small toys and treats from the dollar store to fill mine with. Once they are filled you will need to tie up the final end. You can add embellishments to the outside if you want also or use patterned scrapbook paper instead of plain.
Here's the final product.
They would be a fun addition to any party.
Have fun being crafty!

Sunday, June 22, 2014

Burlap wreath

I finally had some time this weekend to make this wreath.
I've had all the fixings to make this for a while now but not enough time. We are always running around in the summer camping, four-wheeling, boating, etc.
First, buy a wreath form, there are several kinds to choose from as you can see above. I went with the flat wood one for the look I was going for. The green metal one is good for the fluffy looking mesh and burlap wreaths you see all over Pinterest. I wanted a different look. This was also much simpler.
You will also need a glue gun, scissors, embellishments and possibly wire and wire cutters depending on your wreath form and embellishments.
I made three burlap flowers and I didn't love making them. After burning my fingers with hot glue and taking wayyyy to long to make them, three was enough. I did get smart when I started to hot glue the burlap to the wreath form and put rubber gloves on since I knew the hot glue would seep through the burlap - It helped immensely. I started to lay out my pattern before I used the hot glue to make sure I liked it.
Here is what it looked like before I added embellishments.
Here's a close-up of the burlap flowers I made.
All in all it was a fairly easy project for not a lot of money. I still have plenty of the tan burlap and will probably be making a "fluffy" wreath shortly.
I saw the cutest patriotic wreath on Pinterest - I might have to make my own version. :)
Happy crafting!