Thursday, July 31, 2014

DIY Party Poppers

I made these party poppers for a Pioneer Day event. They would work great for any holiday or party by using whatever colors of tissue paper, scrapbook paper and embellishments you want.
Here are the steps to making your own party poppers:
First you need some empty paper towel rolls or toilet paper rolls. You can get two or three poppers out of each paper towel roll depending on what size you want them. Then choose what colors of tissue paper you want to wrap them in. I cut each piece of tissue paper into four equal parts. I then used scotch tape to adhere the tissue paper to the rolls.
Next choose your scrapbook paper that you want to put on the outside of them and cut it to the width of your paper roll. Tape the inside edge to the roll and wrap around until you have about a 1-2 inch overlap - you might need to trim some excess off. Then glue it down and make sure it bonds - since it's a round surface it's a little harder to keep tight. Then cut some pieces of ribbon long enough to double knot and curl just a bit - about six inches - and tie one end closed.
Now you are ready to fill them. I got some small toys and treats from the dollar store to fill mine with. Once they are filled you will need to tie up the final end. You can add embellishments to the outside if you want also or use patterned scrapbook paper instead of plain.
Here's the final product.
They would be a fun addition to any party.
Have fun being crafty!

Sunday, June 22, 2014

Burlap wreath

I finally had some time this weekend to make this wreath.
I've had all the fixings to make this for a while now but not enough time. We are always running around in the summer camping, four-wheeling, boating, etc.
First, buy a wreath form, there are several kinds to choose from as you can see above. I went with the flat wood one for the look I was going for. The green metal one is good for the fluffy looking mesh and burlap wreaths you see all over Pinterest. I wanted a different look. This was also much simpler.
You will also need a glue gun, scissors, embellishments and possibly wire and wire cutters depending on your wreath form and embellishments.
I made three burlap flowers and I didn't love making them. After burning my fingers with hot glue and taking wayyyy to long to make them, three was enough. I did get smart when I started to hot glue the burlap to the wreath form and put rubber gloves on since I knew the hot glue would seep through the burlap - It helped immensely. I started to lay out my pattern before I used the hot glue to make sure I liked it.
Here is what it looked like before I added embellishments.
Here's a close-up of the burlap flowers I made.
All in all it was a fairly easy project for not a lot of money. I still have plenty of the tan burlap and will probably be making a "fluffy" wreath shortly.
I saw the cutest patriotic wreath on Pinterest - I might have to make my own version. :)
Happy crafting!

Saturday, April 26, 2014

DIY Jewelry Displays


Earring display
Earring display
Bracelet and necklace display

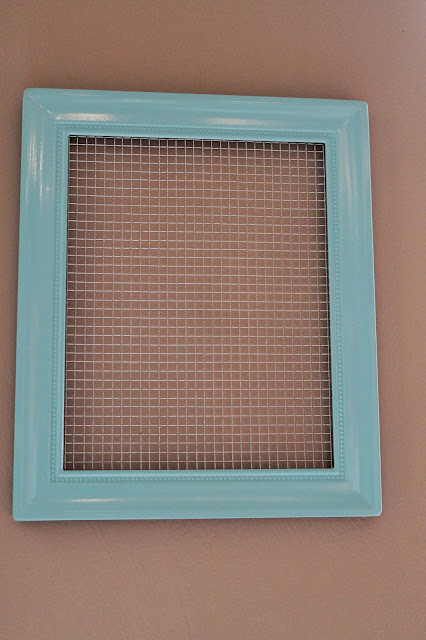
These three displays were fairly inexpensive to make. I got the frames for free so I had a great start. I suggest going to thrift stores or yard sales and looking for something that will work for you. The earring displays just needed some chicken wire or mesh cut to size. I did have to go buy a roll of that at Lowe's but now I have some for the next ones.
Here is what I used for these:
First measure out the opening in your frame and cut the mesh accordingly. I found that it was easier to clip each individual link with these small wire cutters than using my heavy duty shears because I could get in closer with these. When you have your piece cut to size, insert it in the back of your frame and secure it with a staple gun. It you leave a little room between the staple gun and the frame when you insert your staples they will stick up just enough to hold in the mesh.
I left the back open on this one:
Or you can add some foam core or cardboard cut to size and adhere scrapbook paper to it for a background like I did for this one but make sure to leave a gab between the mesh and your background or it will be very hard to put earrings on it.
With the display for bracelets and necklaces, I used some utility hooks in the top and then backed it with foam core and scrapbook paper.
I also needed a place to display long necklaces when I attend events/shows like Tuacahn Saturday Market so I bought a framed bulletin board and some drawer knobs and put this together:
I will probably add some material or scrapbook paper to the background of this one to make it more eye catching but I had to get this done for a show and ran out of time. You probably don't want the background too busy so that you can see what is being displayed - especially for selling.
This one was the most expensive to make because I had to buy the knobs and board. The others were fairly inexpensive. They just took a little elbow grease and a little help from the hubby.

Tuesday, April 22, 2014

Homemade Reese's Peanut Butter Treats

I made these for Easter but these flower shapes could work for any spring celebration.
There are a million recipes online that all vary slightly but this is what I used:
16 oz of powdered sugar
1 and 1/4 cup of peanut butter
1/4 cup of butter
2 tablespoons half&half - or until you reach your desired consistency.
Some recipes also add graham cracker crumbs and/or brown sugar and honestly, the recipe above is approximate because after looking at so many recipes - I just kind of winged it.
Mix ingredients together and shape to your desire.
Put them in the freezer to harden.
Melt one package of Wilton candy melts or other chocolate coating of choice. It works best to put a little shortening in the chocolate so it's a little thinner for dipping. Take peanut butter shapes out of freezer and dip in chocolate coating. I usually use two forks and a spoon when dipping - the spoon to help cover the shape with chocolate and one fork to pull it out of the chocolate from the bottom and another fork to push the piece off of the other fork and onto the parchment paper to set up.
Decorate to your liking.
Happy dipping!
These take patience but they are worth it!

Sunday, January 26, 2014

Banana Streusel Muffins

These muffins turned out pretty well and were really easy to put together.
I had some bananas on my counter that I needed to use soon so I looked up banana dessert recipes and this recipe popped up.
I have never been a big fan of baked banana goods and have never made any so I was a little apprehensive about weather or not I would like these but decided to take a chance so I could use up my bananas.
I found the recipe here: 
Muffins:
1 1/2 cups flour
1 tsp baking powder
1 tsp baking soda
1/2 tsp salt
3 bananas, mashed
3/4 cup sugar
1 egg, lightly beaten
1/3 cup butter, melted
Topping:
1/3 cup brown sugar
2 Tbs flour
1/8 tsp cinnamon
1 Tbs butter
Directions: Preheat oven to 375 degrees.
In a small bowl - mix the flour, baking soda, baking powder and salt together and set aside. I actually just realized I left out the salt and mine still taste great.
The next step is to mash your bananas - I had never done this before and found that a fork worked the best when they were chunky and a spoon worked best in the end to get them really smooth.
Then mix in the sugar, egg and butter. I actually only used about 1 Tbs of butter and made the rest of the 1/3 cup up with cinnamon applesauce to make them more healthy.
After that is combined, add the flour mixture just until moist.
Evenly pour batter into a 12-slot greased or paper-lined regular muffin tin. The original recipe said it would make 10 muffins but it easily made 12. Don't mind the Christmas muffin liners - all I have are seasonal patterns.
Mix the topping ingredients together until it resembles a course crumble. Then sprinkle topping over the 12 muffins.
Bake in the oven for 18-20 minutes or until a toothpick comes out clean.
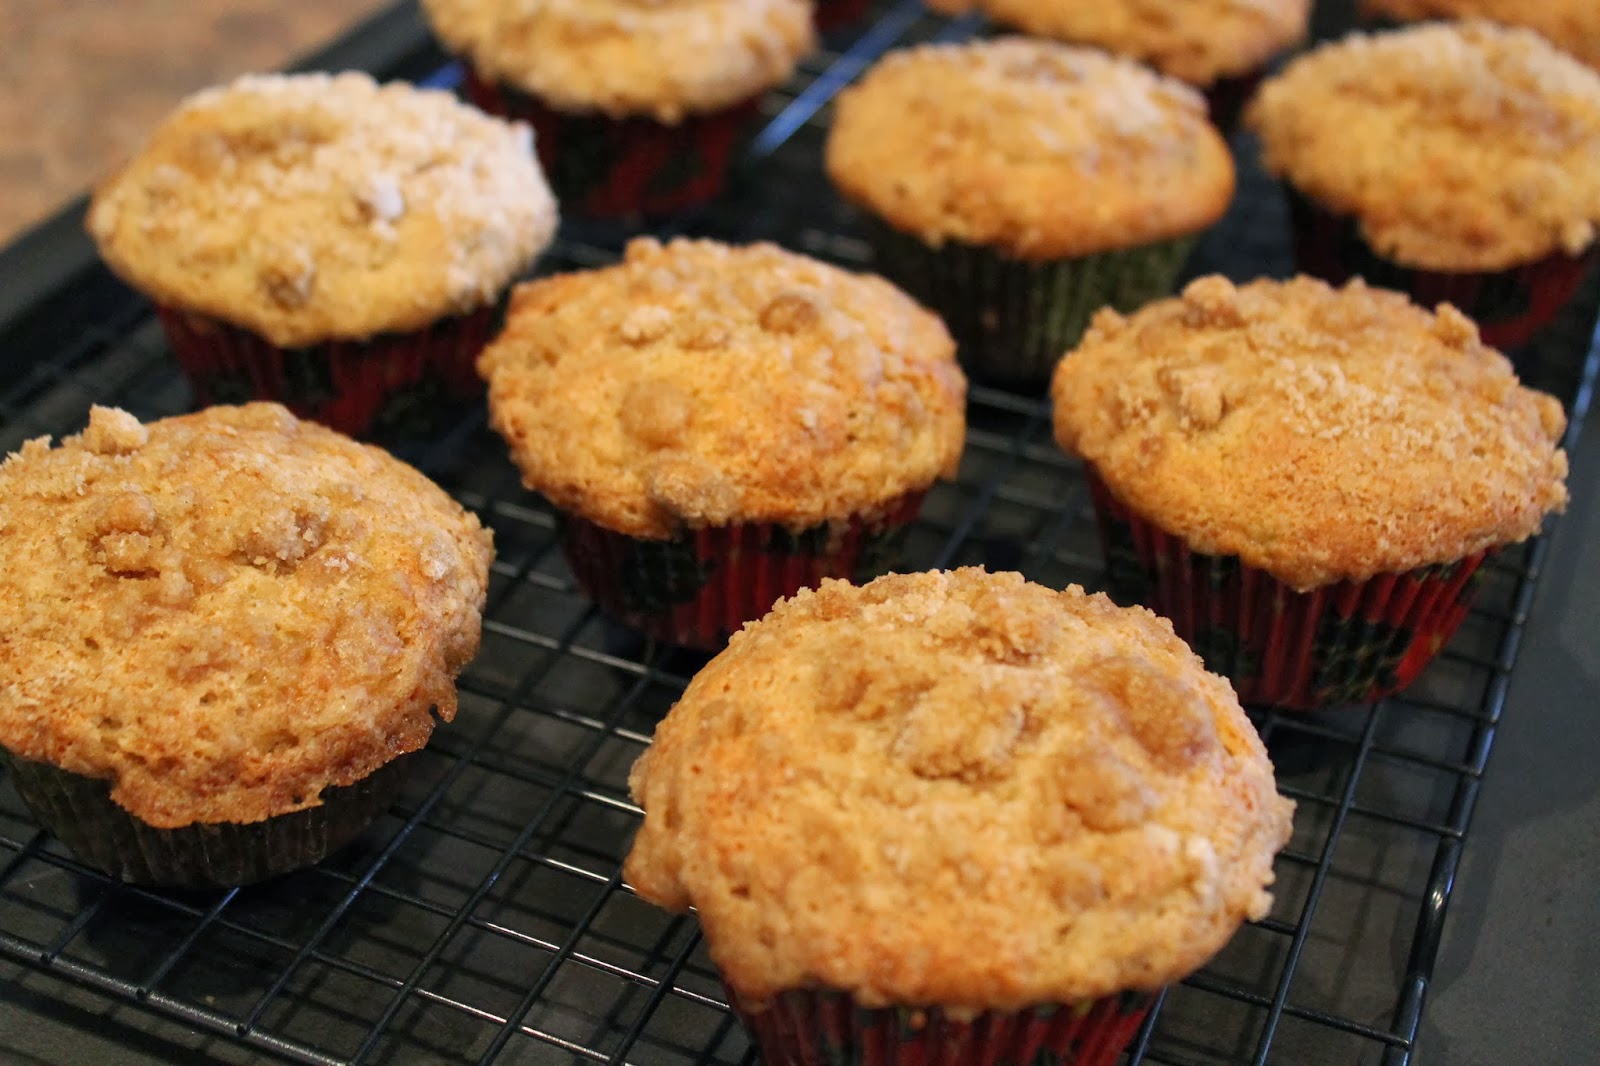
This is what you end up with. These are soooo good when they are warm! I might just become a fan of baked banana goods.