


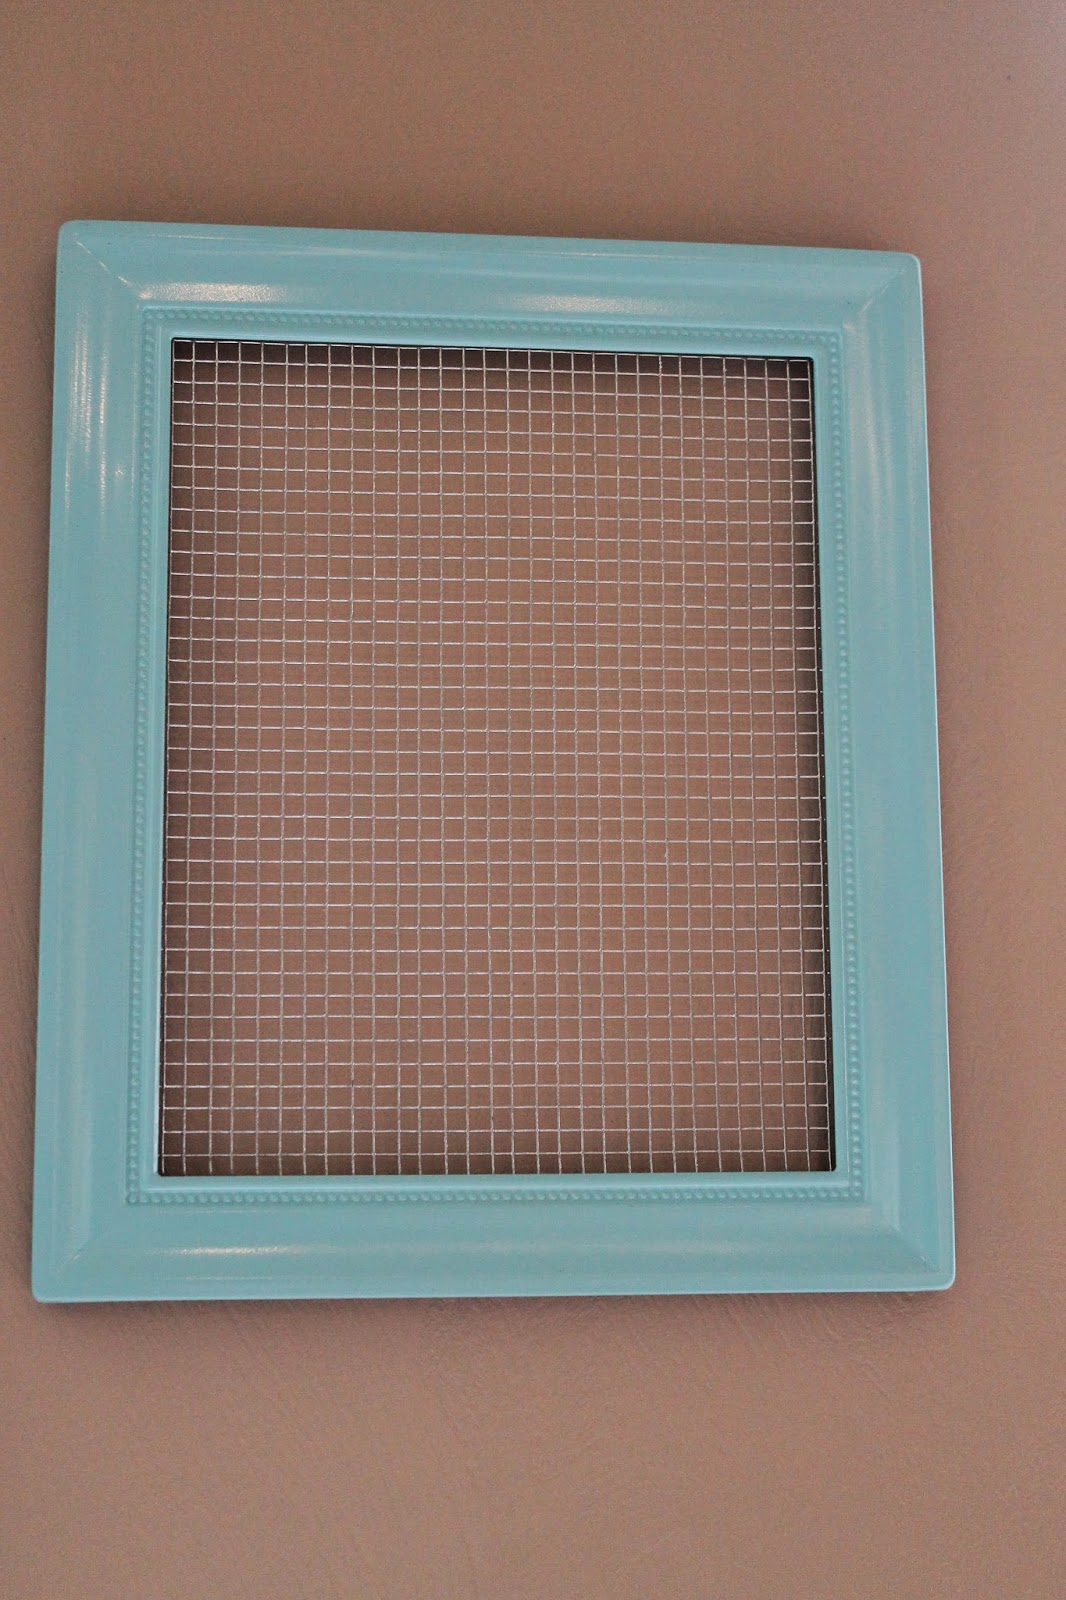
Earring display

Earring display

Bracelet and necklace display
These three displays were fairly inexpensive to make. I got the frames for free so I had a great start. I suggest going to thrift stores or yard sales and looking for something that will work for you. The earring displays just needed some chicken wire or mesh cut to size. I did have to go buy a roll of that at Lowe's but now I have some for the next ones.
Here is what I used for these:

First measure out the opening in your frame and cut the mesh accordingly. I found that it was easier to clip each individual link with these small wire cutters than using my heavy duty shears because I could get in closer with these. When you have your piece cut to size, insert it in the back of your frame and secure it with a staple gun. It you leave a little room between the staple gun and the frame when you insert your staples they will stick up just enough to hold in the mesh.
I left the back open on this one:
Or you can add some foam core or cardboard cut to size and adhere scrapbook paper to it for a background like I did for this one but make sure to leave a gab between the mesh and your background or it will be very hard to put earrings on it.

With the display for bracelets and necklaces, I used some utility hooks in the top and then backed it with foam core and scrapbook paper.

I also needed a place to display long necklaces when I attend events/shows like Tuacahn Saturday Market so I bought a framed bulletin board and some drawer knobs and put this together:

I will probably add some material or scrapbook paper to the background of this one to make it more eye catching but I had to get this done for a show and ran out of time. You probably don't want the background too busy so that you can see what is being displayed - especially for selling.
This one was the most expensive to make because I had to buy the knobs and board. The others were fairly inexpensive. They just took a little elbow grease and a little help from the hubby.


