

Glitter Magic Wands
I actually made these for a themed work retreat. So, now that I've worked out all the kinks - I can make some for myself. In a few weeks that is - cause I'm kind of sick of making these!
I actually really love how these turned out but after making 50 of them at once, I need a break!
Here's the breakdown on how to make these for yourself:
Let's start with the tools you will need to make these:

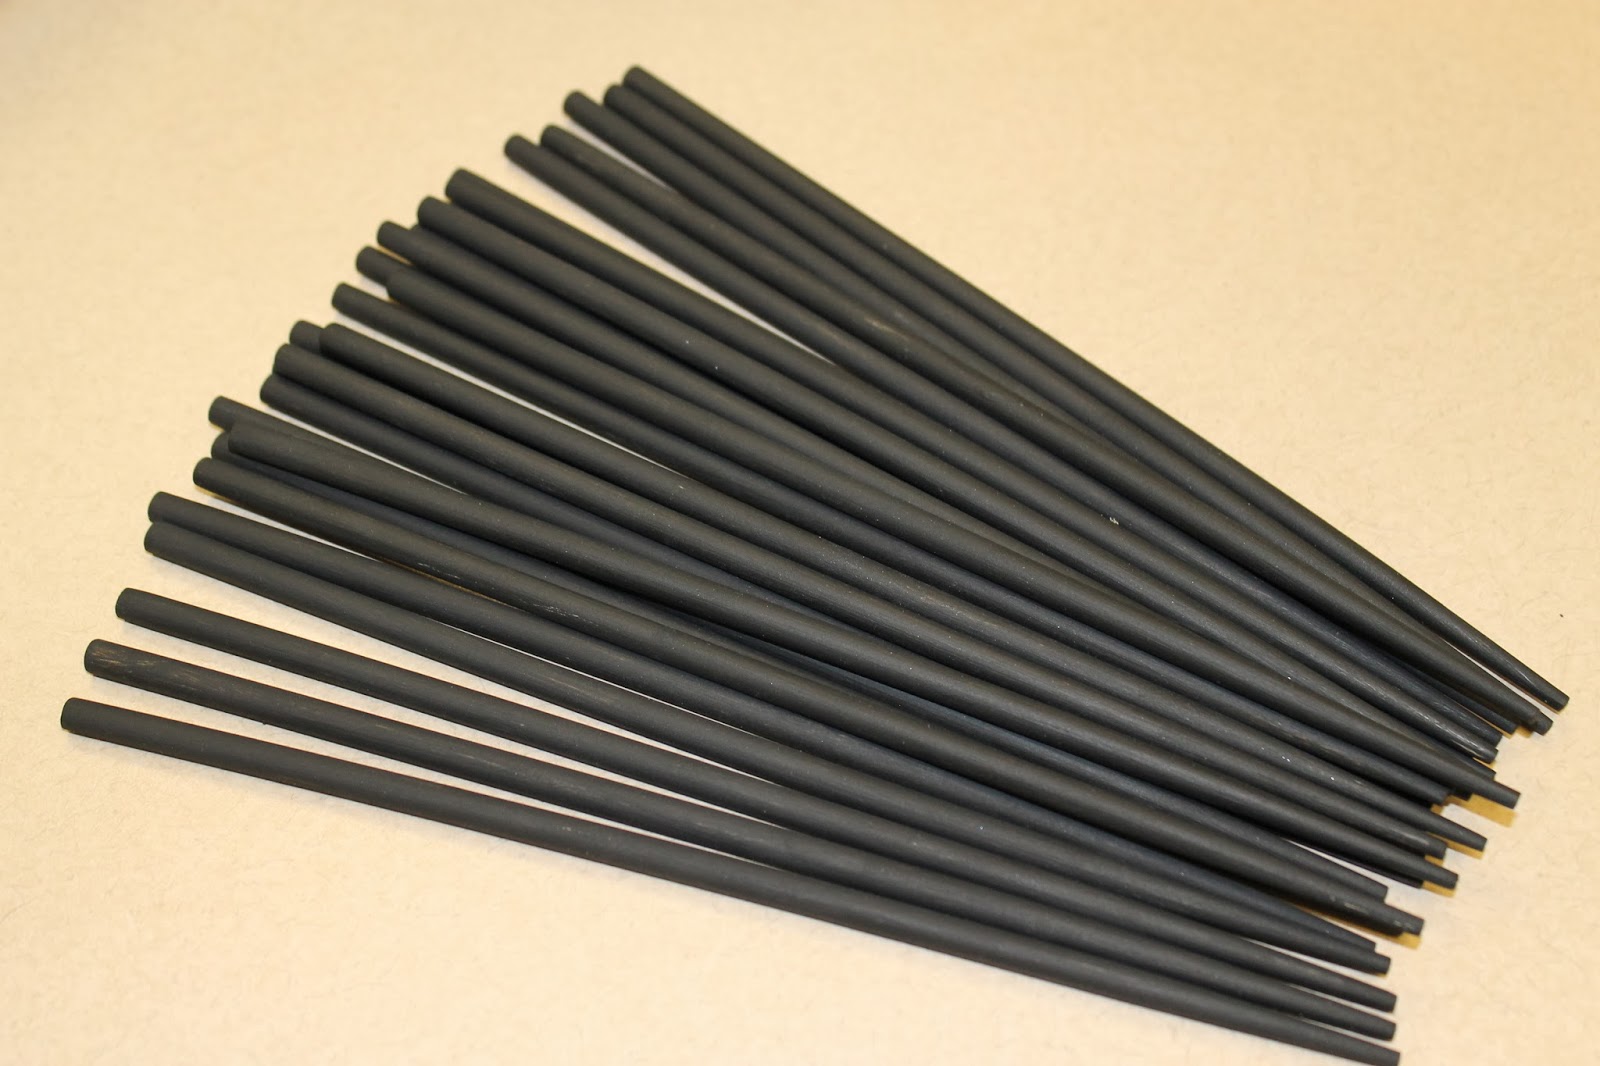
For the wand itself, we first thought of using dowels but they aren't tapered so then we thought of paintbrushes and then we thought of chopsticks but we needed to find round chopsticks so I searched the internet and found a company that sold them in packs of 20 and ordered them. The foam is used for setting the wands in while they are drying after decorating them with the hot glue.
We (my co-worker and I) found that we had to sand the clear coat off the chopsticks before we painted them or the paint rubbed right off. After all that painting, we didn't want to paint anymore so we found glitter glue sticks for the decorating of the wands.

I found a pack of 25 assorted glitter hot glue sticks at Michaels for $6.99. We actually got 75 finished magic wands from 50 glue sticks. It just depends how much glue you want to put on your wands.

You also need a bag of clear small marbles for the top of the wands - you could probably use colored marbles but the clear ones let the glitter glue shine through and look really cool.
Here are some pictures of the finished wands:


Tips I learned from making these:
Put a dot of hot glue on the top of the chopstick and set the marble on top and let dry. Then circle the marble in hot glue. Then go crazy decorating each wand with the hot glue - it gets easier as you go. We found that going back and adding some drips after the first layer dried worked well and added some dimension to the wands.
Here are some wands that my co-worker made:


As you can see, she used a bit more hot glue then I did on these and they look great so it's up to you to decide how much glue you want to use on them. We also realized that we loved the ones that had a mix of two colors of hot glue on them from switching from one color to another in the middle of a wand so I would mix the colors up more next time.
Most importantly, have fun while making your magic wands!
Brilliant! I've seen these on Pinterest for sale and loved them. Thank you for being such a sharing soul and freely giving these instructions. Sharing is caring. I'm going to go buy the supplies and make them this week with my daughter. Maybe you'll see them on our blog someday (I'm just learning).
ReplyDeleteSorry it took me so long to reply. I'm glad you liked my tutorial. I hope your wands turned out how you wanted and that you and your daughter had a good time making them.
DeleteWhat's the length of the chopsticks? How thick are they?
ReplyDeleteI've been looking for chop sticks online could you give a tip on where to find them and about what to expect when buying them price wise
ReplyDeletehow do you keep the marble from getting knocked off the end? Hot glue to glass isn't necessarily terribly secure... do you need to "wrap" some of the hot glue past the marble's halfway point?
ReplyDelete