Showing posts with label gluten free. Show all posts

Tuesday, November 12, 2013

Peanut butter and chocolate cereal treats AKA Scotcheroos

This recipe had me at peanut butter and chocolate. I love that combination of flavors. Today at work I had the worst craving for something sweet. So much so that I almost went out and bought me some cookies from one of our local cookie shops.
As soon as I got home, I went to work trying to decide which of my hundreds of "Sweet Treats" pins I should make. I wanted something quick to make since I still had to make dinner too. I actually have made these twice before right in a row since they were so good.
This recipe is all over Pinterest - but here it is:
1 cup white sugar
1 cup corn syrup
1 cup creamy peanut butter
6 cups cereal - Chex, Rice Crispies - whatever you have on hand
1 cup chocolate chips
1 cup peanut butter chips or butterscotch chips
1 tsp vanilla
Stir the sugar and corn syrup in a sauce pan over medium heat until it comes to a boil. Then take off the heat and stir in your peanut butter - if you want the peanut butter flavor to stand out more then add another 1/2 cup. After the peanut butter is evenly stirred into the mixture, pour over cereal mixture and coat evenly. Press mixture into a greased 9x13 pan or just turn out onto parchment paper if you want to just pull chunks off to eat it like I do. Melt your chips together in the microwave in 30-second intervals. When melted, stir in the vanilla. Pour over the top of the cereal mixture and let set before cutting or just drizzle it on top like in my example.
I used half a bag of peanut butter and milk chocolate chips on these. I used a Ziploc bag to melt them in and then cut the corner off to drizzle over the cereal mixture.
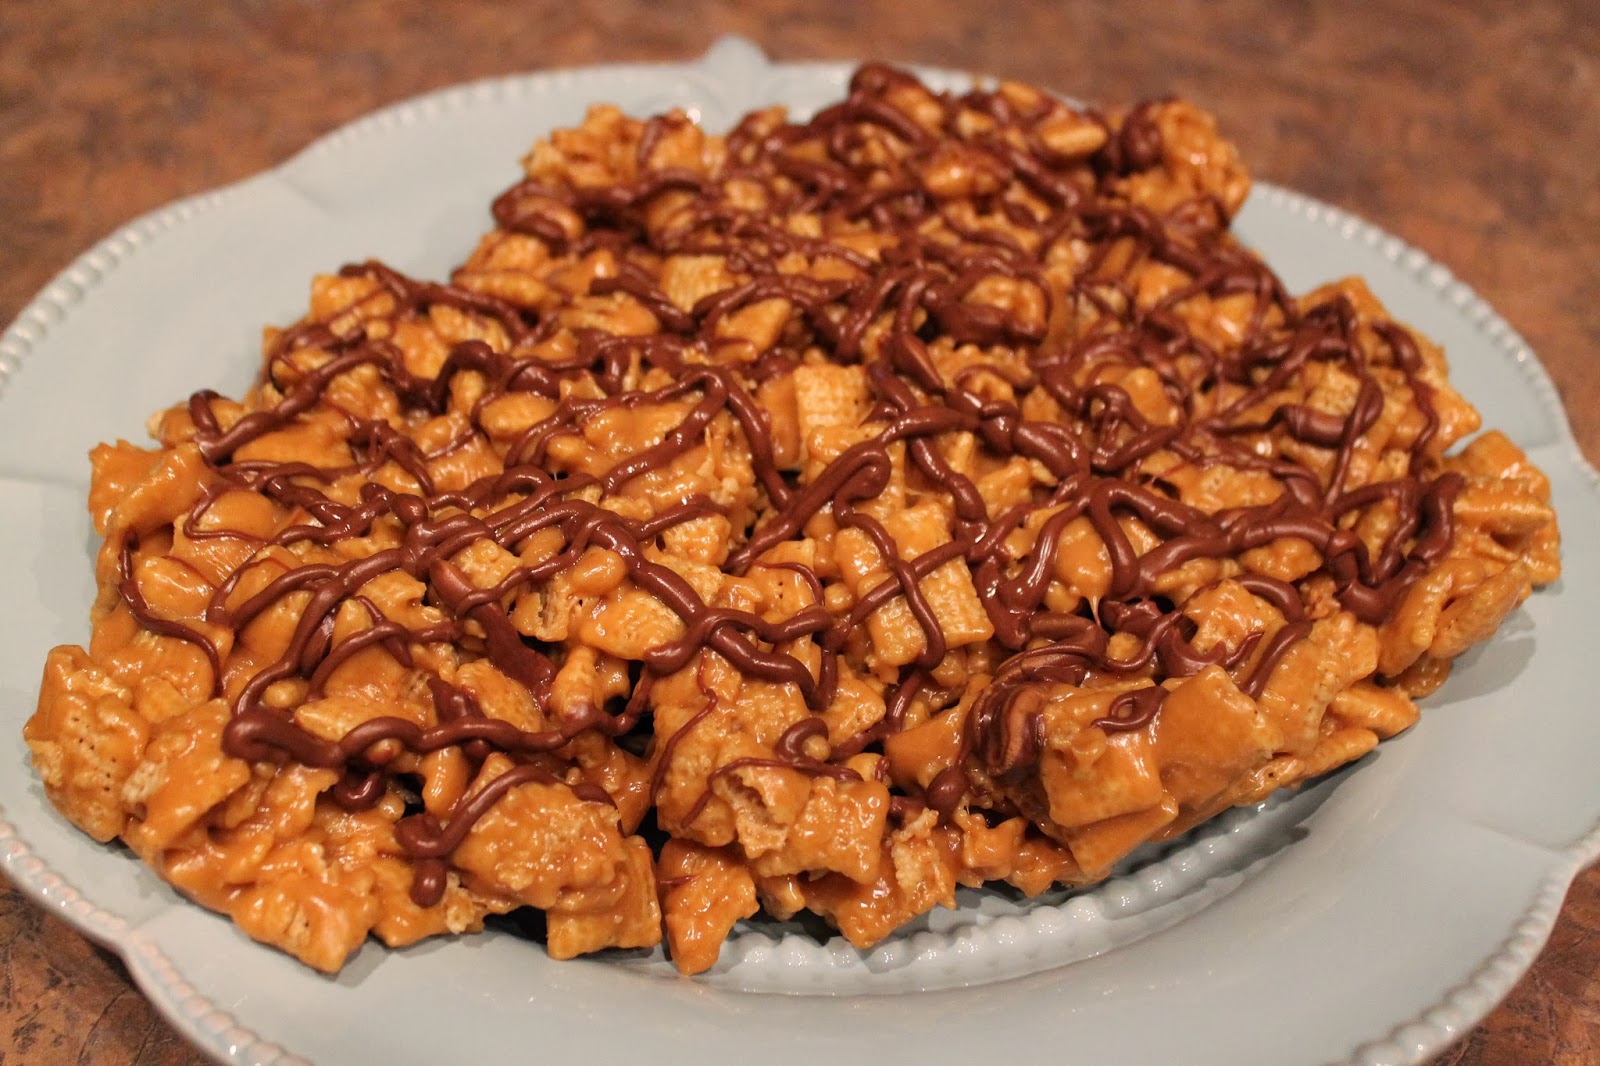
This recipe is gluten-free also. Just check your cereal - I hear some of the off-brands are not always GF.
If you cut them in bars - which makes it easier if you are taking them to a party - they look something like this:
This is a pic from the first time I made these. Either way - they are delicious!

Thursday, November 22, 2012

Homemade butterfinger bars

Another Pinterest recipe is checked off my list.
I have been wanting to make these since I pinned them. I bought some candy corn on sale after Halloween and am just now getting to make these. In my defense, I have been busy with all of my other hobbies. The busiest time of year for me is October through December. I love to decorate for Halloween and Christmas as you probably know if you follow my blog.
I found this recipe on Pinterest. You can find it here.
This recipe uses three ingredients and there is no baking involved.
I like to have people taste these before I tell them the ingredients.
Most people are surprised that candy corn is an ingredient.

Here are some tips for making this recipe:
First of all, 1 lb equals two cups - I have a handy magnetic chart hanging on my refrigerator to help with that.
When you are combining the melted candy corn and peanut butter, there is a lot of stirring involved - I almost called in my husband to assist because my arm was tired.
Press the mixture evenly into your pan and let it sit for a while to cool.
I didn't have parchment paper so I just buttered my pan - it worked well but it was hard to get the whole square out of the pan at once. I wanted to cut these into little squares on a cutting board because it is easier to use a sharp knife for that and I didn't want to ruin my pan.
I dipped a few of these in the morning before work so I could pass them around and I made a big mistake in my rush.
Make sure you have waxed paper or parchment or something on the surface to make it non-stick while they are setting up. I put them straight on a metal pan and then had to use a spatula to scrape them off.
These are the ones I took to work - they are not quite as pretty:
When you melt your chocolate, make sure to add a little shortening to make the chocolate more smooth and a thinner consistency.
These worked better for me than anything I have ever dipped and I dip a lot of treats!
When dipping, make sure the pieces don't have a lot of crumbs on them or your chocolate will become lumpy.
My technique is to use a spoon to cover the piece and then use a fork to pick it up out of the bowl and shake the excess chocolate off on the side of the bowl.
Then the treat will just slide off the fork onto your waxed paper or you can use another fork to slide it off.
When they have dried - if you have some extra chocolate pooled at the bottom - you can just trim it off with a sharp knife.
We will be having ours at our Thanksgiving feast.
I hope these tips help you when you try your hand at them.